chorus 705 manual stand screw size

The Chorus 705 manual provides essential guidelines for assembling and maintaining the stand, emphasizing proper screw size usage for stability and safety․ It ensures optimal performance and durability․

Understanding the Stand Screw Size Specifications
The Chorus 705 manual outlines specific screw size requirements to ensure stability, safety, and optimal performance, preventing potential damage or instability during assembly and use․
2․1․ Importance of Correct Screw Size for Stability
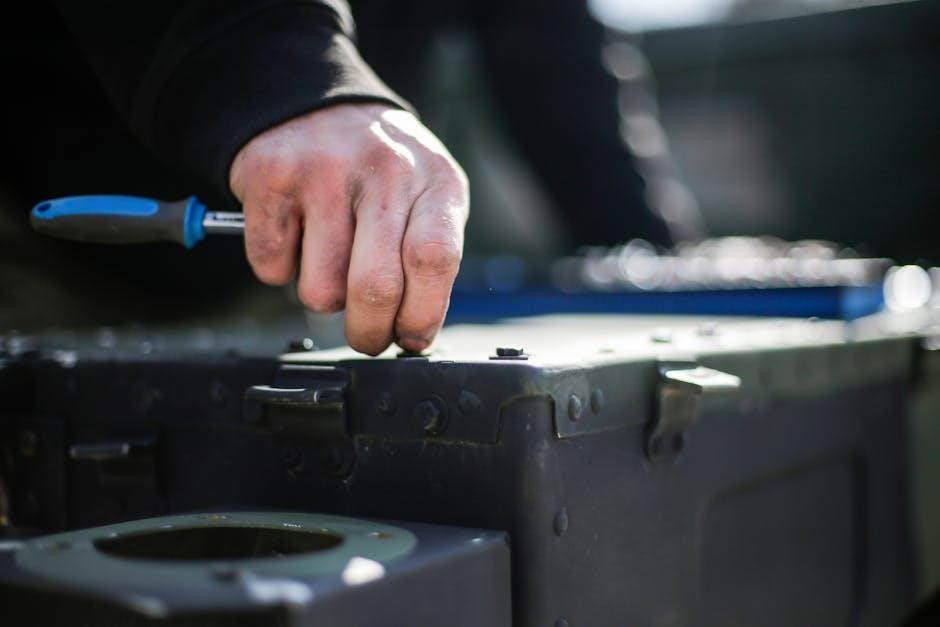
Using the correct screw size is vital for ensuring the stability of the Chorus 705 stand․ Properly sized screws provide a secure fit, preventing wobbling or tipping, which could damage the device or compromise safety․ Incorrect screw sizes may lead to loose connections, instability, or even equipment failure․ The Chorus 705 manual emphasizes that precise screw fitting ensures optimal weight distribution and alignment, maintaining the stand’s structural integrity․ This, in turn, guarantees the device’s optimal performance and longevity․ Always refer to the manual’s specifications to avoid potential hazards and ensure reliable operation․ Correct screw size is fundamental for both safety and functionality, making it a critical step in the assembly process․
2․2․ Safety Considerations for Screw Installation
When installing screws for the Chorus 705 stand, prioritize safety to avoid accidents and ensure durability․ Always use the screw size recommended in the manual to prevent stripping or damage․ Over-tightening can lead to equipment damage, while under-tightening may result in instability․ Wear protective gloves and eyewear to safeguard against potential hazards․ Ensure the work surface is stable and free from clutter․ Avoid using damaged or worn-out tools, as they may slip and cause injury․ Regularly inspect screws for signs of wear or corrosion and replace them if necessary․ If unsure about any step, consult a professional to prevent risks․ Proper screw installation is critical for both safety and performance, so adherence to these guidelines is essential․

Key Sections of the Chorus 705 Manual
The manual includes detailed assembly instructions, screw size recommendations, and troubleshooting tips, ensuring optimal setup and performance of the Chorus 705 stand․
3․1․ Assembly Instructions for the Stand
Assembly instructions for the Chorus 705 stand are detailed in the manual, guiding users through each step․ Begin by unpacking all components and hardware; First, attach the base plate to the stand using the provided screws, ensuring they are tightened securely․ Next, align the vertical support column with the base and fasten it using the specified screw size to maintain stability․ Afterward, mount the equipment platform onto the support column, making sure it is level․ Tighten all connections firmly but avoid overtightening, which could damage the threads․ Finally, double-check all bolts and screws for proper torque․ Following these steps ensures a stable and secure setup for your equipment․ Proper assembly is crucial for both safety and optimal performance․ Always refer to the manual for specific screw sizes and torque specifications to avoid any potential issues․ This careful approach guarantees a professional-grade installation every time․
3․2․ Screw Size Recommendations for Optimal Performance
The Chorus 705 manual emphasizes the importance of using the correct screw sizes for optimal performance and stability․ It recommends using M6 or M8 screws for most stand assembly tasks, depending on the specific component․ Ensure screws are made of durable materials, such as stainless steel or zinc-coated, to withstand heavy use and environmental factors․ Tighten screws to the torque specifications provided in the manual to prevent overtightening, which could damage threads or strip screws․ Using screws of incorrect sizes or materials may lead to instability or equipment damage․ Always refer to the manual for precise recommendations tailored to your setup․ Following these guidelines ensures a secure and reliable installation, safeguarding your equipment and maintaining peak performance․ Proper screw size selection is a critical step in achieving professional-grade results with the Chorus 705 stand․ Consult the manual for detailed specifications․
Compatible Stand and Rack Configurations
Compatible stands and racks ensure the Chorus 705’s stability and safety․ Standard and heavy-duty options are available, including fixed and adjustable configurations․ Always use manufacturer-recommended hardware for secure installation․
4․1․ Recommended Stand Types for the Chorus 705
The Chorus 705 manual specifies that the device should be mounted on stands and racks that meet specific weight and size requirements․ Fixed, adjustable, and heavy-duty stands are recommended to ensure stability․ Always use stands made from durable materials and designed for the Chorus 705’s weight capacity to prevent instability․ The manual also emphasizes the importance of ensuring the stand is level and securely positioned to avoid any risk of tipping․ Proper stand selection is crucial for maintaining the device’s performance and longevity․ Ensure compatibility by referring to the manual’s guidelines for stand specifications․ This ensures optimal installation and prevents potential damage to the equipment․
4․2․ Rack Mounting Options and Screw Requirements
For rack mounting the Chorus 705, the manual recommends using compatible 19-inch racks with standard screw patterns․ Ensure the rack is sturdy and designed to support the device’s weight․ The manual specifies that M5 or M6 screws are ideal for secure installation, depending on the rack’s configuration․ Avoid using screws that are too short or too long, as this could lead to improper alignment or instability․ Always refer to the manufacturer’s guidelines for screw torque specifications to prevent overtightening, which may damage the mounting points․ Using the correct screw size and type ensures a stable and secure installation, reducing the risk of equipment damage or performance issues․ Proper rack mounting also helps maintain proper ventilation and accessibility for the device․

Safety Precautions When Handling Screws
Always handle screws with care to avoid injuries․ Wear gloves and use appropriate screwdrivers․ Ensure screws are tightened securely but avoid overtightening․ Use grounding plugs for safety and avoid mixing screw types․
5․1․ General Safety Guidelines for Screw Installation
Always ensure the stand is on a stable surface before installing screws․ Use the correct screwdriver size to prevent stripping․ Avoid over-tightening, as this could damage threads․ Keep loose clothing tied back and wear safety goggles․ Ensure proper ventilation and avoid working near open flames․ Never use damaged or worn-out screws, as they may fail under stress․ Follow the manual’s torque specifications to maintain structural integrity․ If unsure, consult a professional․ Regularly inspect screws for signs of wear and replace them if necessary․ Proper screw installation is crucial for both safety and optimal performance of the Chorus 705 stand․
5․2․ Avoiding Damage to the Device or Stand
To prevent damage, use screws of the correct size and type as specified in the Chorus 705 manual․ Avoid over-tightening, as this can strip threads or warp the stand․ Never use screws with damaged or worn threads, as they may fail under stress․ Ensure the stand is assembled on a stable, flat surface to prevent accidental tipping․ Keep the device and stand away from excessive moisture or humidity, which can corrode screws․ Regularly inspect screws for signs of wear or rust and replace them if necessary․ Avoid using power tools, as they may apply too much force․ Always refer to the manual for torque specifications to ensure proper installation without over-stressing the hardware․
Troubleshooting Common Screw-Related Issues
Identify loose screws by checking for instability․ Stripped screws can be replaced with compatible sizes․ Addressing mismatched screws ensures stability and prevents damage to the Chorus 705 stand․
6․1․ Identifying Loose or Stripped Screws
To identify loose screws, gently shake the stand or rack․ If it wobbles, tighten the screws immediately․ Stripped screws can be recognized by their inability to hold the structure securely․ Inspect for visible wear or damage․ Use a screwdriver to test resistance; if it turns without tightening, the screw may be stripped․ Addressing these issues promptly prevents further damage or instability․ Always refer to the manual for correct screw size and torque specifications to avoid over-tightening, which can exacerbate the problem․ Regular maintenance and inspections are crucial for ensuring the longevity of the Chorus 705 stand and its components․ Replace any damaged screws with compatible alternatives to maintain safety and performance․
6․2․ Solutions for Screw Size Mismatch
If a screw size mismatch occurs, consult the Chorus 705 manual to verify the correct specifications․ Replace mismatched screws with compatible ones immediately to avoid instability․ For minor discrepancies, use screw adapters or spacers if recommended by the manufacturer․ Ensure all screws are tightened evenly to maintain balance․ If threads are damaged, consider using thread repair kits or consulting a professional․ Always prioritize using screws of the exact size and type specified to prevent long-term damage․ Regularly inspect and replace worn-out screws to maintain the structural integrity of the stand․ Proper alignment and secure fastening are critical for optimal performance and safety․ Refer to the manual for torque specifications to avoid over-tightening, which can lead to further issues․ Addressing screw size mismatches promptly ensures the longevity and reliability of the Chorus 705 setup․